Tubular Gauge Glasss Installation And Maintenance
Tubular Gauge Glasss Installation And Maintenance
1. Installation, use and adjustment
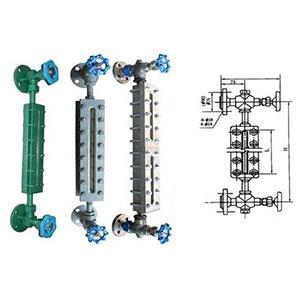
1.1 InstallationFor the glass tube level gauge, the loose flange joint is directly welded to the container, and the level gauge must be vertical. instructions.
1.2 Use and adjustment
When in use, the valve cannot be opened immediately, it should be preheated for 20-30 minutes, and then slowly open after the glass tube has a certain temperature
The valve allows the measured liquid to slowly enter the glass tube of the level gauge from the airtight container.

2.1 Maintenance and repair
In order to ensure that the glass tube of the level gauge does not affect the reading due to the contamination of the measured liquid, it should be cleaned regularly. During the overhaul period
The length of the time can be determined according to the specific conditions of use. When the level gauge is used for a period of time, a sink is attached to the inner wall of the glass tube
The deposit makes the liquid level invisible. The glass tube should be cleaned. When cleaning, first close the upper and lower valves. Open to take
Sample plug and let out the remaining liquid in the glass tube. Then unscrew the plug on the valve, use potassium dichromate sulfuric acid solution, and pour it in,
It flows out of the sampling plug through the glass tube. Finally, rinse with tap water.
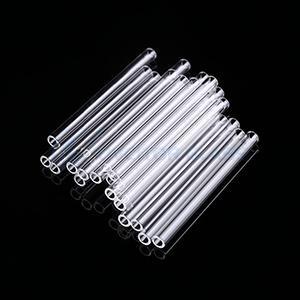
2.2 Faults and troubleshootingWhen the glass tube suddenly breaks due to an accident, the glass tube needs to be replaced. First remove the clamp and the protective cover, and then loosen it
Open the connecting nuts of the upper and lower valves, take out the packing gland and sealing washer, remove the broken glass tube, and then connect them in sequence
Nuts, packing glands, and gaskets are sleeved on both ends of the glass tube. First insert the lower end of the glass tube into the lower valve, and then insert the upper end
Install the valve, turn the connecting nut, and basically tighten the glass tube, and then tighten it after installing the protective cover, and lock it with a clamp.


